Why Pistol Drill Training?
Imagine you are out with your family when a crazed man with a gun rushes in and starts shooting people.
You have started carrying a concealed carry pistol since you wanted to be prepared to defend yourself and your family in case this unlikely event happened.
In the heat of the moment your training kicks in… Unfortunately have haven’t really trained properly.
Sure you went to the gun range and took your time lining shots up. At 25 yards you can hit the center of the target with a very small spread.
But those skills are gun range skills… not reality-based self-defense skills.
Under stress we revert to training… and if your training has not been specific don’t expect to suddenly channel John Wick.
Thus we need to regularly train pistol drills in a specific and focused manner to build our automatic responses.
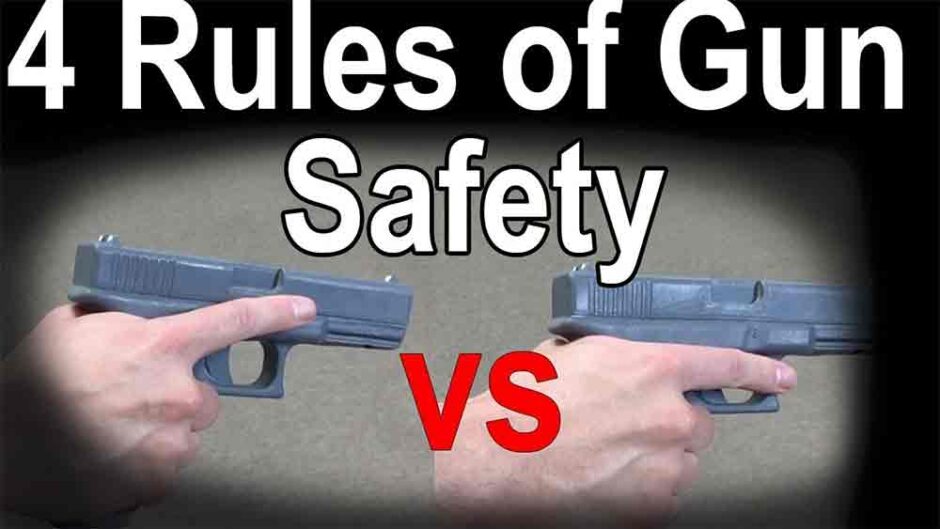
Safety… Do NOT Skip
There really isn’t such a thing as an accidental gun discharge. There are far too many safety features built into any modern pistol to prevent the gun from firing unless you pull the trigger. So instead we have negligent discharges. That means that it is your fault if the gun goes off. To make sure that the gun never goes off unless you deliberately chose to we have safety protocols.
Here are a few…
Training Replica Pistols
I have a Bluegun version of my concealed carry pistol that I train with all of the time. Blueguns are not the only option but they are molded to the exact fit and feel of the real thing. They are solid polymer (no moving parts) but they have all of the tactile elements of the real thing including magazine release, slide lock, take down lever, etc.
The only thing is that the slide doesn’t rack and the magazine can’t be removed so you can’t practice racking the slide for real. But I’ve found that hasn’t stopped me from developing quality racking skills. Once you have racked a real pistol just treat the Bluegun slide like the real thing.
They have molded sights that are shaped just like the real thing but without any dots. I just use paint and put dots (or a “U” notch as is the case with my Springfield Hellcat.

Using a Real Pistol
While I don’t recommend it you can use a real pistol but you MUST use the following safety protocols:
Read this for the 4 rules of firearm safety.
A safe wall is either bullet-proof or is facing an outside wall. Not the wall into your kid’s room or a wall with a neighbor on the other side. If you don’t have any safe walls where you live then get a replica pistol.
Another benefit of using a replica pistol is that you can leave it sitting out. That will make it easier for you to get your reps in. If you have to get your real pistol out of the safe, unload it, inspect it, find a safe wall, etc, etc. it becomes a lot of hassle. But a replica can be left out on a counter so you can get reps every time you walk past it.
1-Hand Pistol Grip
Summary of 1-Handed Pistol Grip:
Goal: To reduce recoil as much as possible for 2 reasons:
1) To prevent a double feed or stovepipe jam which can happen if the muzzle flips back too much.
2) The more the muzzle flips the longer it takes to get back on target to get shots accurately into the bad guy.
To this end there are 3 primary things we want to focus on. 2 will reduce recoil and the 3rd will prevent a negligent discharge.
1) Finger always on the slide or lower frame. NEVER rest your finger on the trigger guard. That is one flinch away from squeezing the trigger and the gun going off when you don’t intend it to.
2) Get the webbing of your thumb as high on the backstrap as possible.
3) Get your middle finger as high against the trigger guard as possible.

2-Hand Pistol Grip
Summary of 2-Hand Pistol Grip:
Our 2nd hand (support hand) is even more important for controlling recoil. In fact our shooting hand will typically be a little looser while the support hand will grip a little more firmly.
With our support hand we want to get as high up on the lower frame as possible and get as much contact with the lower frame as possible. That means that your palm heel and thumb will be pressed into the frame of the gun… not gripping your shooting hand like so many poorly or untrained people naturally do.
The rules are as follows:
1) Slide your support hand thumb up underneath your shooting hand thumb and then forward along the lower frame until it points horizontally down the pistol and towards the target. This is called “thumb indexing” and will get you on target in a panicked situation faster when there is no time to align your sights.
2) Your support hand should be as high as possible.
3) The index finger of your support hand should be pushed up against the trigger guard.
These three tips will reduce recoil at your wrists aka “limp-wristing.”


Sight Alignment
Summar of Sight Alignment from video:
Purpose = to get all shots on-target and avoid hitting any one in the background.


Stance: Position 1
Summary of Position 1 aka “Low Ready”:
Position 1 is where you might find yourself after an incident happens where you had to draw your firearm. You would come here to assess your surroundings for other threats before reholstering (as you will see when we get into our drills).
Remember it isn’t a good idea to hang out with your pistol drawn in public for fear of being mis-identified as a criminal by law enforcement or other people with concealed carry permits. So you won’t be spending a lot of time here.
Simply point the muzzle about 2 feet in front of you at the ground. Now you can take a look to your left or right, ideally without moving the gun.

Position 3
Summary of Position 3 aka “Ready to Shoot”:
1 and 2 prevent recoil at the wrists aka limp-wristing.
3 and 4 prevent recoil in the body or body sway.
And 5 prevents recoil at the elbows.
Now of course there will always be a slight amount of muzzle flip, mostly in the hands / wrists. But if you practice the above it should be so slight that you are back on target nearly instantly so you can rapid fire if need be.
Point both of your thumbs at the target. This is called “thumb-indexing” and will ensure you are on target at reasonably close ranges even without using your sights. If you are in an urgent situation and must get on-target and shoot ASAP you won’t have time to align your sights. But if you are thumb-indexing you will be confident to shoot.

Position 2
Summary of Position 2 aka “High Compressed Ready”:
Always move to Position 2 as a transition to Position 3 when moving from any low position (Position 1, drawing from a holster, or after shielding from a gun disarm). The purpose is to get on-target ASAP!

Drill: 1-2-3-2-1
Summary of the drill from the video:
Purpose: to develop great transitions while practicing safety.
This is 1 repetition.
Drill: Flat Muzzle / Quick Sight Picture
Summary of the drill from the video:
Purpose: to learn to get your sights super quickly.
You will start in Position 2 and then smoothly move out to Position 3. Take a moment to perfect your grip, elbows, stance, and align your sights. Then smoothly return to Position 2. Then repeat back out to Position 3.
The goal is to be able to keep the muzzle flat, and end at Position 3 with everything perfect. Over time you will not need to do any adjustments to get your sights aligned or make any corrections to your grip or stance, etc.
Don’t skip this drill.
Drill: Draw From Holster
Summary of the drill from the video:
Purpose: To get good at the actual skill that you hopefully never need to use. This will integrate all of the skills we have learned so far and add a few.
This is 1 rep.

Acquire as many reps of this as you can while always demanding high quality and improvement from yourself.
I would recommend doing 5 reps per day rather than 50 in a row. You will learn much faster and it won’t be a burden. In a year’s time you will have acquired 1,825 reps and will be remarkably better.
As always go get your reps and become a warrior,
Brian